Kitchen lighting is more than just overhead lamps or ceiling fixtures. One of the most useful and aesthetic enhancements you can add is under-cabinet lighting — light fixtures installed underneath the upper cabinets to illuminate the countertop workspace, reduce shadows, and add ambiance. But what kinds exist, how to choose, and how to install them well? Below I dive into those details, organized around the key questions people ask.

What is under-cabinet lighting and why do I need it?
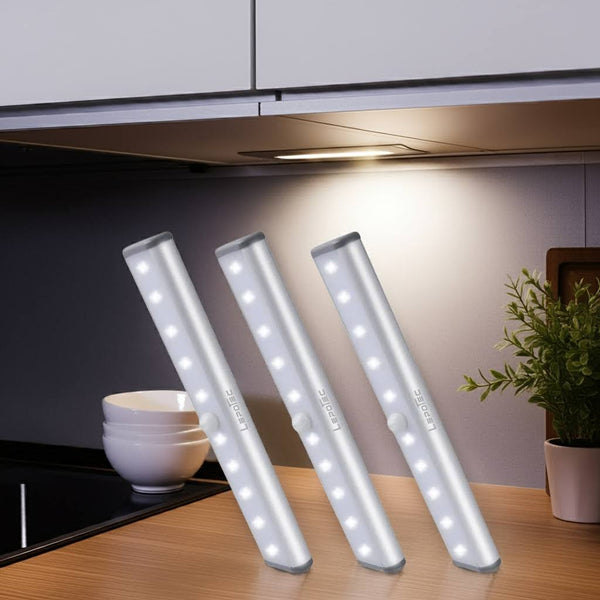
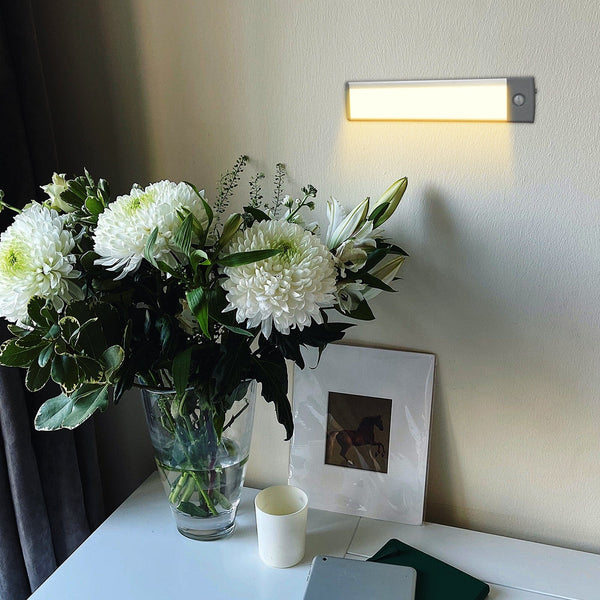
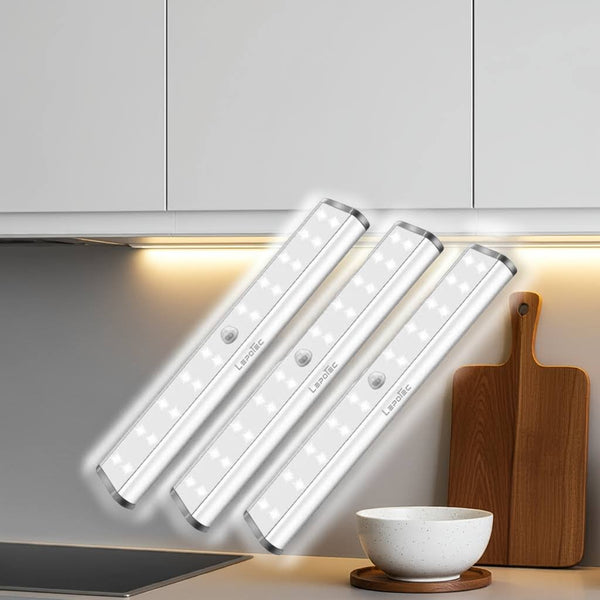
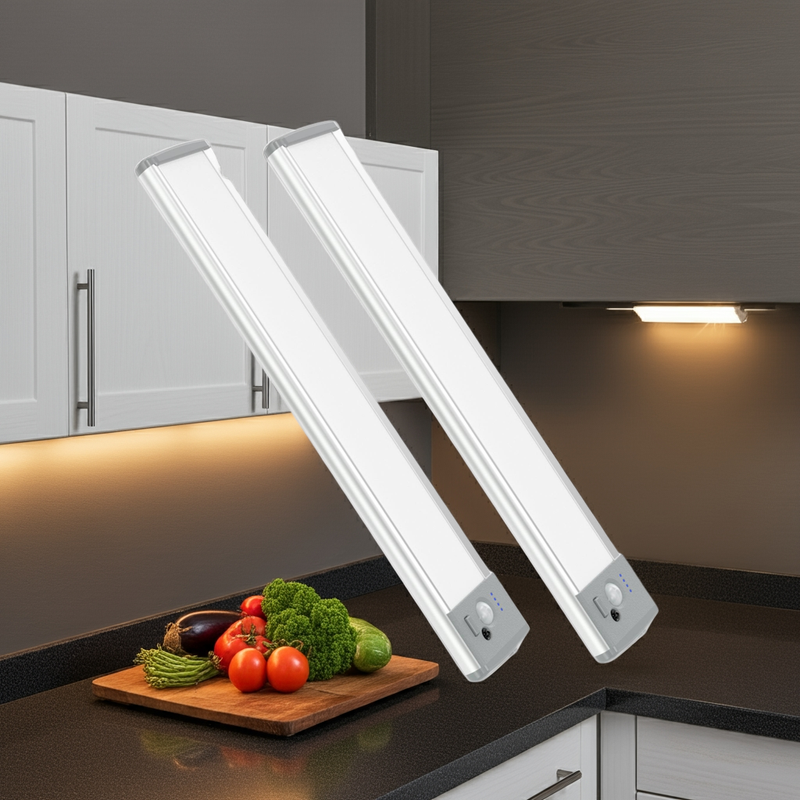
Under-cabinet lighting refers to lights mounted on the underside of your wall (upper) cabinets, or on the overhang, so that they shine directly on your countertop or backsplash.
Why is it so popular?
-
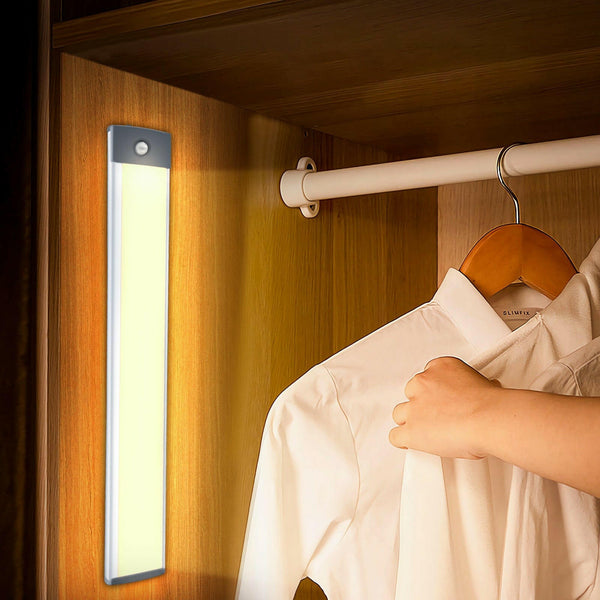
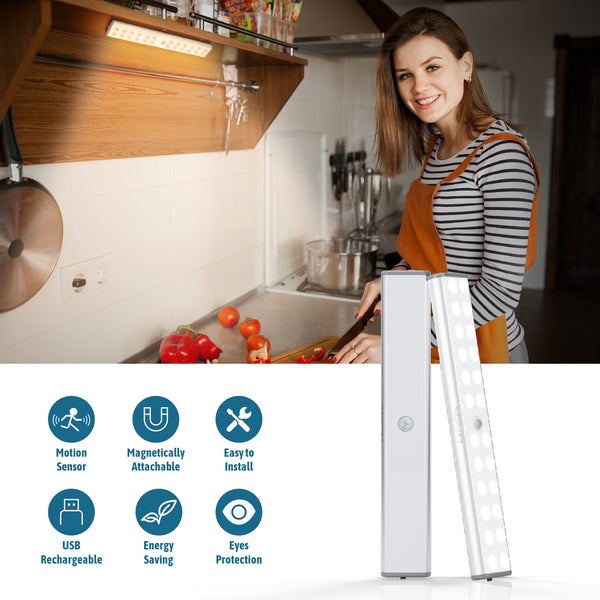
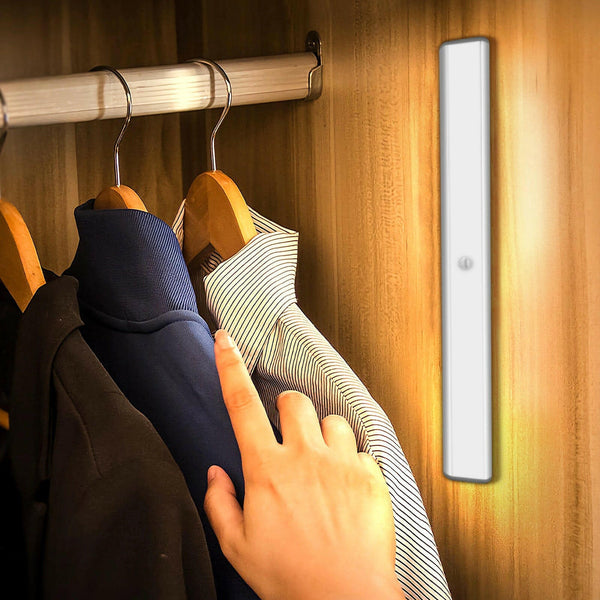
It provides task lighting exactly where you do food prep, chopping, mixing — overhead lights often leave shadows because the cabinets block light.
-
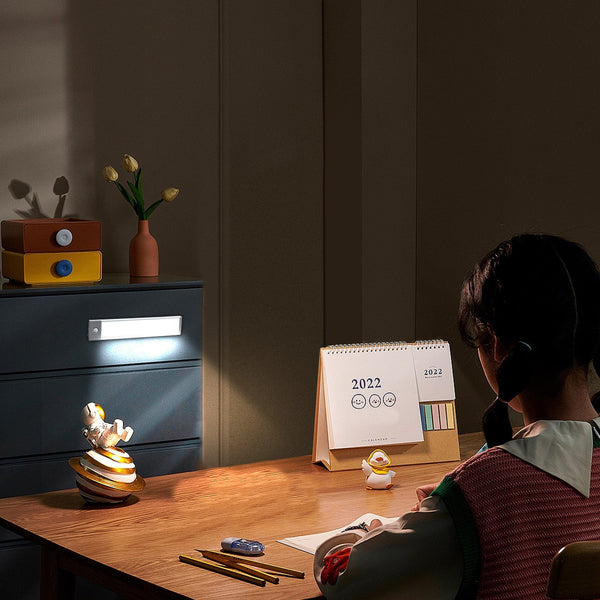
It enhances the ambience and visual appeal of your kitchen by casting soft, even light along the work surface or backsplash.
-
It can add value or a “designer touch” to your cabinetry.
-
It can reduce eye strain when doing fine work, especially at night.
In short: good under-cabinet lighting turns a dim counter corner into a bright, usable, pleasant workspace.
What types of under-cabinet lighting are available?
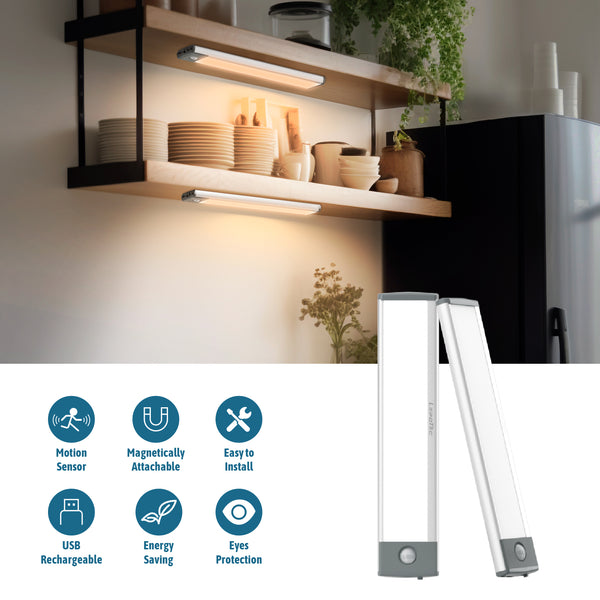
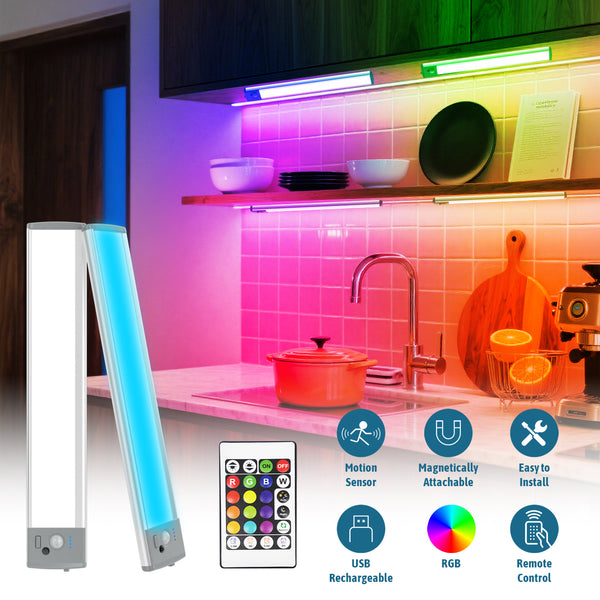
When choosing under-cabinet lighting, you’ll commonly encounter these major types: LED strip / tape lights, light bars / linear fixtures, puck lights, and sometimes older technologies like fluorescent or xenon (though LED dominates now).
| Type | Advantages | Disadvantages / Considerations | Typical Use Cases |
|---|---|---|---|
| LED Strip / Tape Lights | Very flexible, can cut to length, slim profile, low energy use | Needs careful mounting and diffusing, wiring must run nicely | Long runs under cabinets, corners, hidden installations |
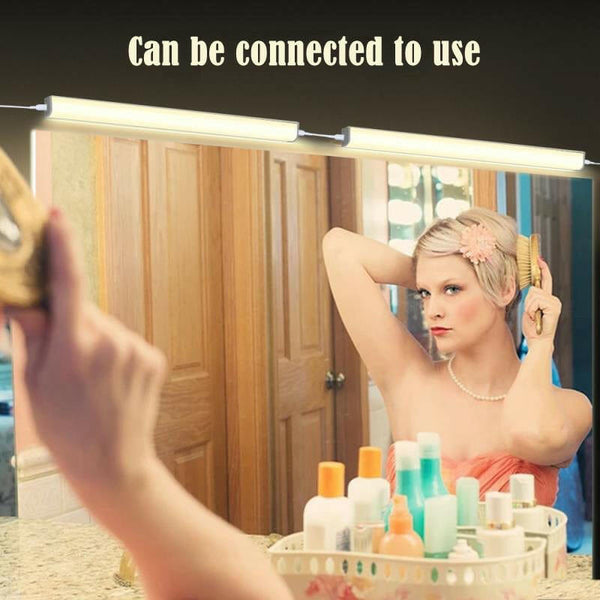
| Linear Light Bars / Fixtures | More robust, even illumination, often linkable | Slightly more conspicuous than tape, requires precise sizing | Over longer cabinet runs when you want uniform light |
| Puck Lights | Focused “pool” lighting, accent or spotlight effect | Creates brighter spots and shadow gaps between lights, needs spacing design | Highlighting small zones, decorative accents, interior of cabinets |
| Fluorescent / Xenon / Halogen | Older tech; in some cases still used for retrofits | Higher heat, more energy consumption, bulkier | Often in older kitchens or legacy installations |
How do I choose the right brightness, color, and quality?
When people search online, common questions include:
-
How many lumens or how bright should under-cabinet lighting be?
-
What color temperature should I pick (warm, cool, daylight)?
-
Does CRI (color rendering index) matter?
Here’s how to think about it:
Brightness / Lumens
You want enough light to comfortably see your work surface without harsh glare. Lighting guides often recommend modest levels — for task lighting under cabinets, aim for something in the order of 200–500 lumens (or its metric equivalent) per linear foot of run, depending on how much ambient light there is.
If your under-cabinet light is your primary source over a stretch, you might opt for higher lumens (500–1,000 for brighter coverage).
Color Temperature (Kelvin scale)
Color temperature affects how “warm” (yellowish) or “cool / white” (bluish) the light looks:
-
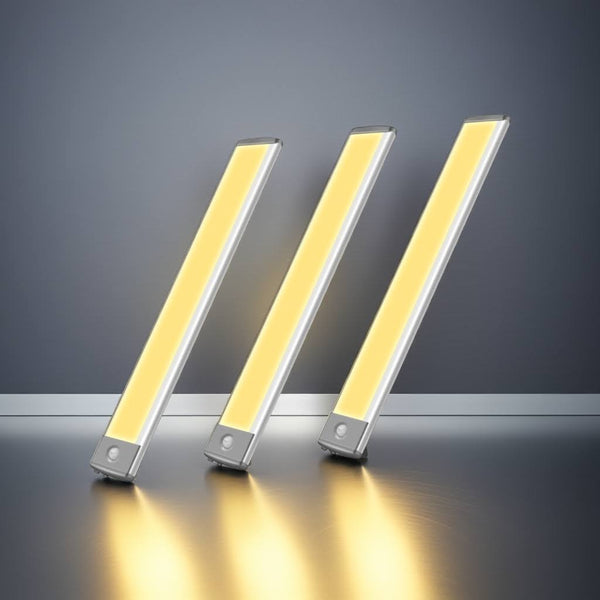
2700K–3000K: Warm white — cozy, slightly yellow.
-
3000K–4000K: Neutral white — good balance, common for kitchens.
-
4000K–5000K and above: Cooler / daylight tones — crisp, more clinical but good for certain tasks.
Many sources suggest 3000K to 4000K is a sweet spot for kitchen under-cabinet work lighting.
CRI (Color Rendering Index)
CRI measures how accurately colors appear under the light source compared to natural light. A high CRI (80+ or better) will make produce, food, and surfaces look more natural. For kitchens, this is quite important — you want apples to look red, meat not odd-colored, etc.
Uniformity
Especially with strips or bars, even, consistent lighting (no dark streaks or hotspots) matters. That means proper spacing, diffusers or lenses, and good mounting.
How far apart should under-cabinet lights be spaced?
One of the most common searches is: “How far apart should under cabinet lights be?”
-
For puck lights, a general guideline is spacing them 8 to 12 inches (20–30 cm) apart, to allow their beams to overlap and avoid dark gaps.
- For LED strip or bar lighting, often you’ll have one continuous run, so you don’t worry about “spacing” as much — just ensure the strip is placed close enough to the front, but avoids glare.
- Some suggest placing the light roughly 1–2 inches from the front edge of the cabinet so that the beam covers the countertop without reflecting directly in your eyes.
Of course, every kitchen is different (depth of cabinet, countertop reflectivity, backsplash material), so always test placement before fully mounting.
How do I power & wire under-cabinet lighting? Plug-in, battery, or hardwired?
Another popular question: “Do under-cabinet lights have to be wired?”
Options:
-
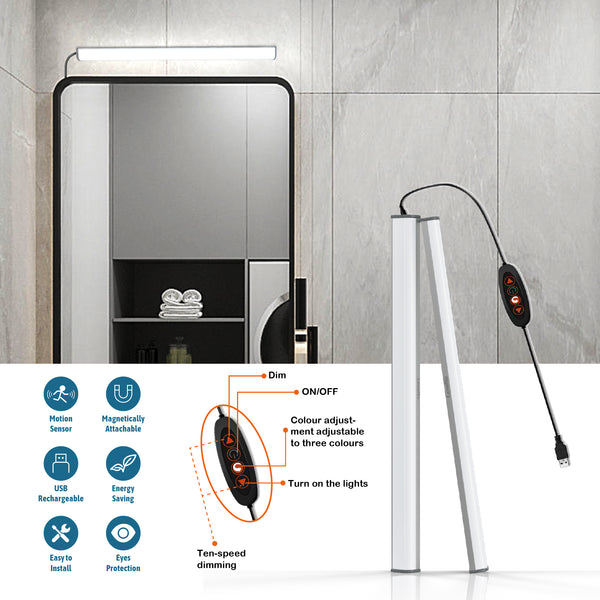
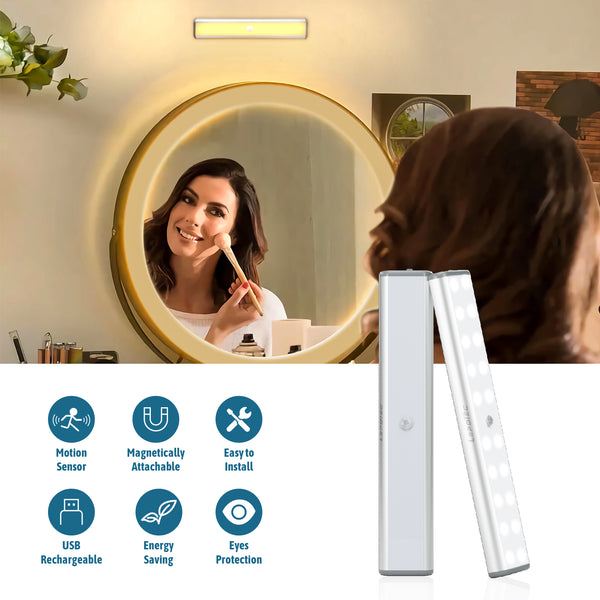
Battery / rechargeable
-
Easy DIY install (no wiring required).
-
Best for small runs, accent lighting, or minimal use.
-
Downsides: you must recharge or replace batteries, and brightness is limited.
-
-
Plug-in (corded to wall outlet)
-
Still relatively simple. You mount lights and plug into a nearby outlet.
-
You need to hide or route the power cord discretely.
-
Often not code-compliant in some jurisdictions if interfering with kitchen counter circuits — check local codes.
-
-
Hardwired (direct wire into your lighting circuit)
-
Clean, permanent, full control (switch or dimmer).
-
Requires more electrical work, likely a licensed electrician.
-
Often uses a junction or conversion box so multiple fixtures link to one circuit.
-
In installations discussed by electricians, a common approach is running a low-voltage wire (e.g. 12 V or 24 V) from a driver / transformer hidden under the sink or in a cabinet, and then daisy-chaining the LED strip or light bars behind the walls to maintain a clean look.
Important safety note: Check your local electrical / building codes. In some regions, connecting under-cabinet lighting to kitchen outlet circuits is disallowed.
How do I install under-cabinet lighting properly?
Here’s a summarized installation workflow (for DIY or professional use):
-
Plan & measure
-
Measure the length of your cabinet runs.
-
Sketch where lights, connectors, wiring, and the power source will go.
-
Decide how many segments and how to link them.
-
-
Choose mounting location
-
As mentioned, placing the strip ~1–2 inches from the cabinet’s front edge often works well.
-
Alternatively, mount on the cabinet lip so the light beams across the backsplash.
-
-
Mounting hardware
-
Use clips, brackets, or adhesive backing with channels/diffusers to secure strips or light bars.
-
Use leveling guides to keep the run straight.
-
For puck lights, pre-drill holes or use screws.
-
-
Wiring / connecting
-
Connect the fixtures (strip to strip, or puck to linking wires).
-
Run wires to your power source, ensuring they are hidden or routed behind walls/cabinets.
-
If hardwiring, turn off mains, connect through a junction / converter box, and ensure you follow local code.
-
Use proper gauge wire, strain relief, and connectors rated for your system.
-
-
Test the run first
-
Before final mounting, power up and test to ensure all segments light, no flicker, and no dark spots.
-
Adjust spacing or diffusers if needed.
-
-
Finalize & conceal wiring
-
Hide wires with trim, raceways, or inside cabinets.
-
Mount final fixtures, lenses/diffusers, and make sure everything is secure.
-
-
Add switch / dimmer
-
If your system supports dimming, integrate a compatible in-wall dimmer or inline controller.
-
Ensure the driver / power supply is dimmable if you plan to use one.
-
What are common mistakes and how do I avoid them?
People often trip up on a few pitfalls. Here are some to watch out for:
-
Uneven lighting or dark spots: Happens when lights are spaced incorrectly, or beams don’t overlap well.
-
Glare or bright rings: If lights sit too far forward or bare LEDs are visible to the eye line.
-
Poor color consistency: Mixing different color temperatures or low-CRI fixtures.
-
Overloading a circuit or violating wiring codes: Be careful with load, choices of circuits, and compliance.
-
Neglecting heat / ventilation: LEDs produce less heat than older bulbs, but still need good mounting and spacing, especially in enclosed channels.
-
Unplanned wiring paths: Wire runs that have to snake around obstacles can be messy and challenging.
How much does under-cabinet lighting cost?
Costs vary widely depending on:
-
The length of your cabinet runs.
-
Whether you go for basic strips or premium high-CRI, tunable, smart LED systems.
-
Whether you DIY or hire an electrician for hardwiring.
-
Access to power / wiring complexity.
In many markets, a basic DIY LED strip kit for a few meters might run tens to a few hundred dollars (or equivalent in your local currency). More advanced smart or custom systems can cost significantly more (hundreds to thousands).
When budgeting, also include wiring materials, mounting channels or diffusers, drivers/power supplies, switches or dimmers, and possible labor.
Will under-cabinet lighting increase value / appeal?
Yes — thoughtfully done under-cabinet lighting is often seen as a desirable, modern upgrade. It can make your kitchen appear more premium, and when done neatly, it’s a feature prospective buyers might appreciate (especially in well-lit kitchens). The key is quality: avoid sloppy wiring, mismatched lighting, or glaring hotspots.
FAQs (frequently asked questions)
Q: Can I retrofit under-cabinet lighting in an existing kitchen?
A: Absolutely. Many people install strip lights or puck lights after the fact. The trick is concealing wiring, finding power access, and carefully mounting without damaging cabinets.
Q: Can under-cabinet lights be dimmed?
A: Yes — as long as your driver / transformer and LEDs support dimming, and you use a compatible dimmer, you can have variable brightness.
Q: Will under-cabinet lighting work with a backsplash that’s reflective?
A: Yes, but reflections may amplify light. Choose diffusers or slightly warmer/less intense options to reduce harsh reflections on glossy surfaces.
Q: Does the under-cabinet light color have to match ceiling lights?
A: Matching helps with harmony. If your ceiling lights are cool white and your under-cabinet lights are warm, the contrast may feel odd. Many choose 3000K–4000K for a balanced “neutral white” tone.
Q: Is it safe to use low-voltage LED strips?
A: Yes, as long as the installation follows safety standards, wiring is correct, and power supplies are certified. Keeping wire lengths reasonable and avoiding overloading circuits is key.
Conclusion
Under-cabinet lighting is a powerful way to upgrade your kitchen’s usability and aesthetics. When you choose the right type (strip, bar, puck), properly plan spacing, wiring, brightness, color temperature, and installation, the result can be transformative. Many of the most searched questions — “how far apart,” “what color temperature,” “plug-in vs hardwire,” etc. can be resolved by applying best practices as in this article.