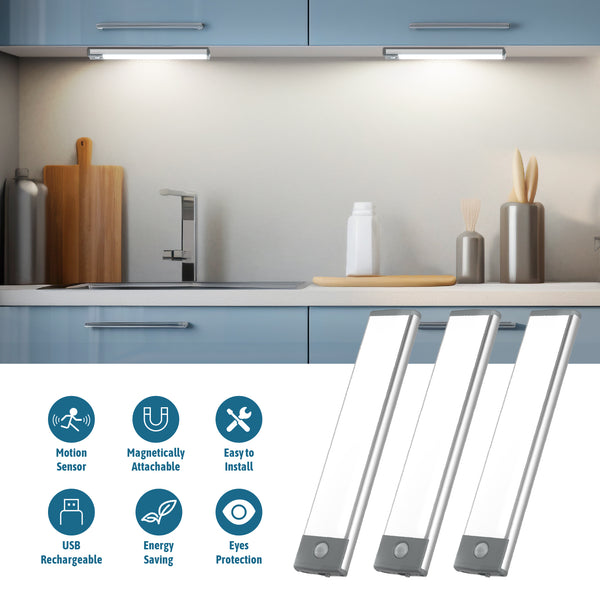
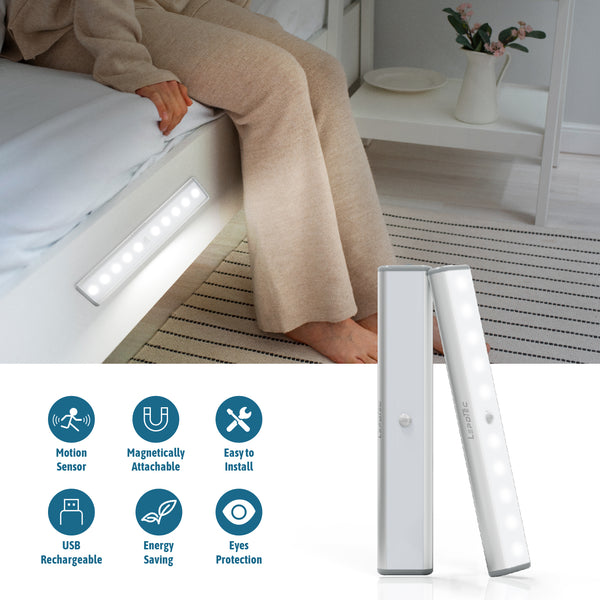
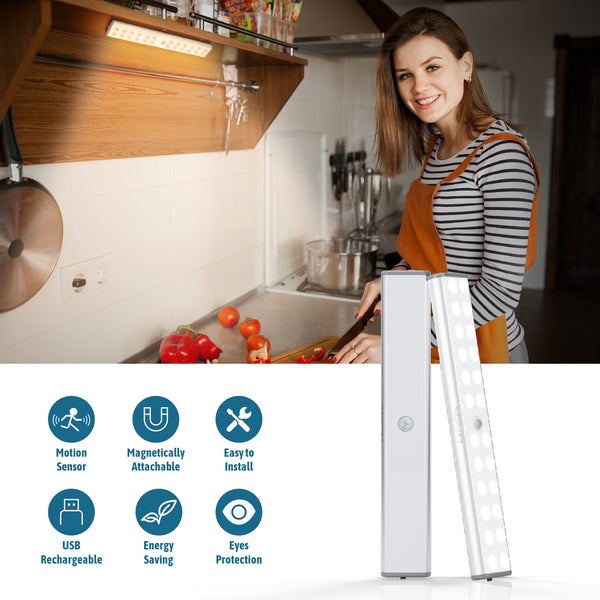
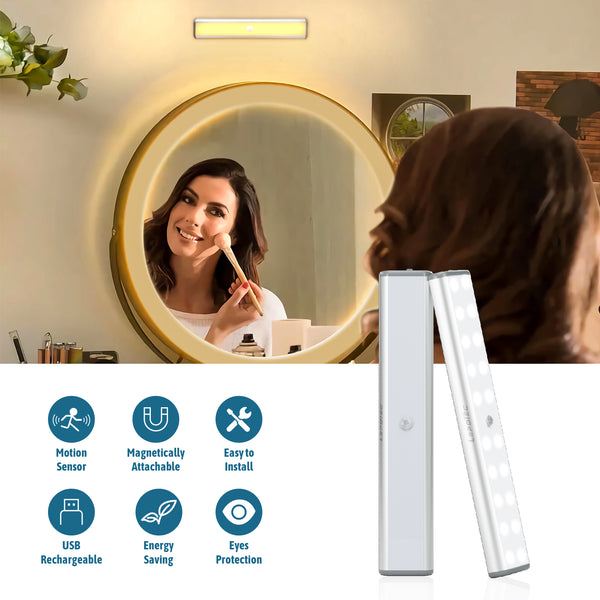
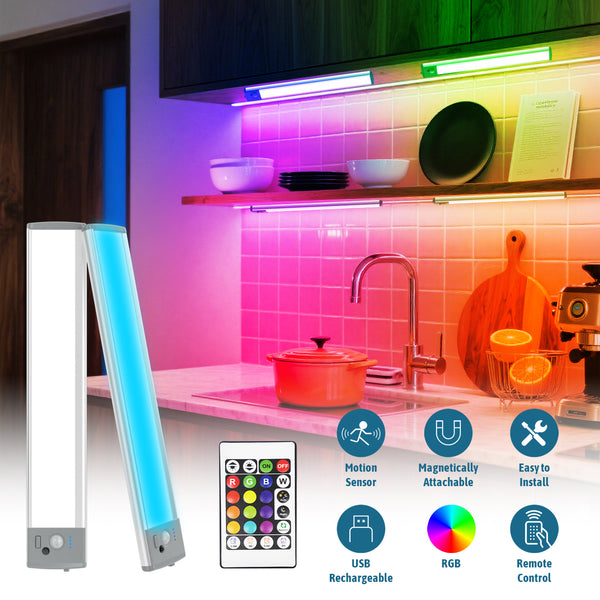
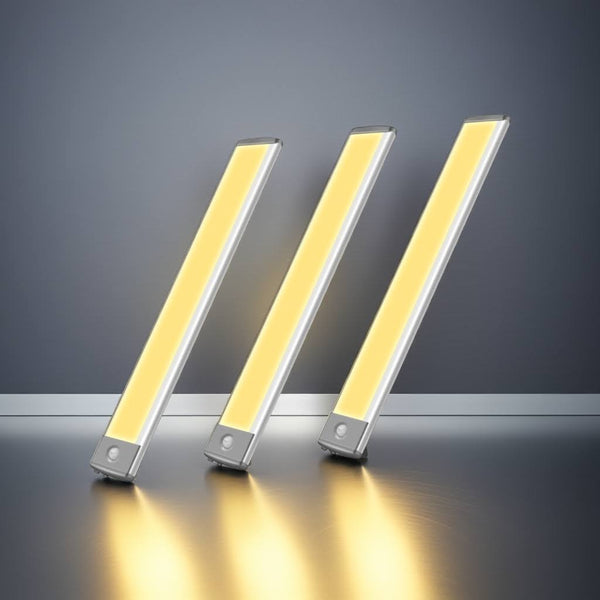
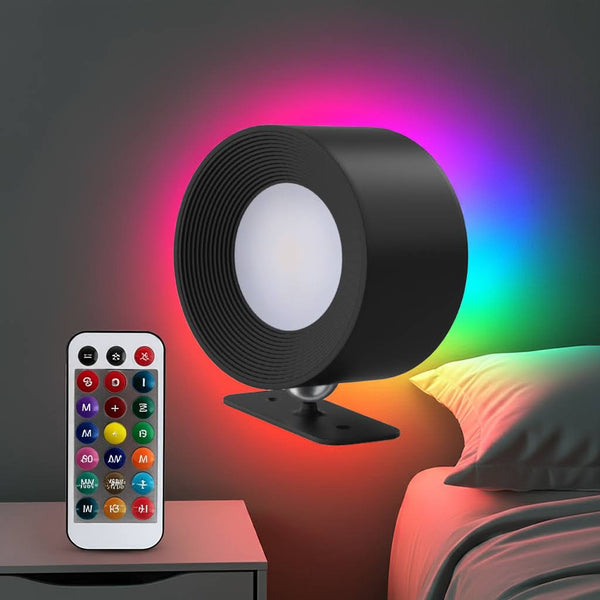
The kitchen is the heart of the home where families gather, so proper lighting is essential for creating an inviting space. Under cabinet lighting provides targeted illumination that can dramatically improve the functionality and ambiance of your culinary area. As a beginner looking at these options, you want lighting that brightens up work surfaces for safe food preparation while also adding a warm, stylish accent to your kitchen design. Under cabinet fixtures come in different styles like strips or pucks and bulb types like energy-efficient LEDs to meet your needs.
The Perks of Under Cabinet Lighting
Installing under cabinet lighting delivers numerous benefits that can transform your culinary space:
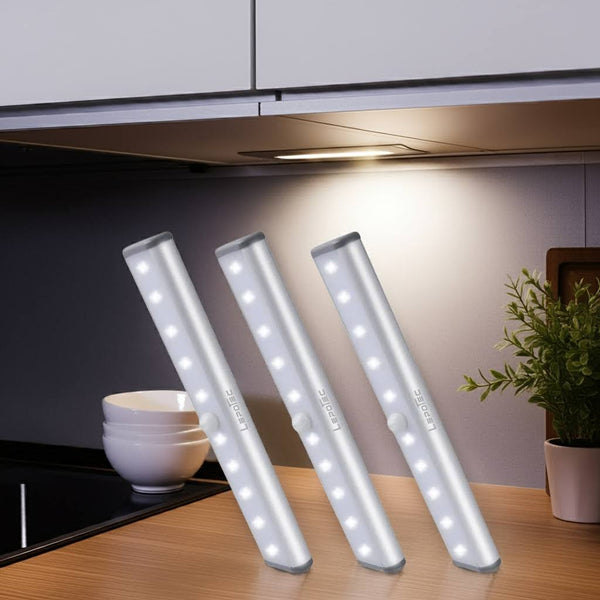
● Improved Visibility: Task lighting directed underneath wall cabinets brightly illuminates countertop workspaces for food prep, cooking, and clean-up. No more squinting or working in the dark!
● Enhanced Safety: Eliminating dark corners and surfaces helps prevent slips, trips, and accidents in a room filled with knives and hot appliances.
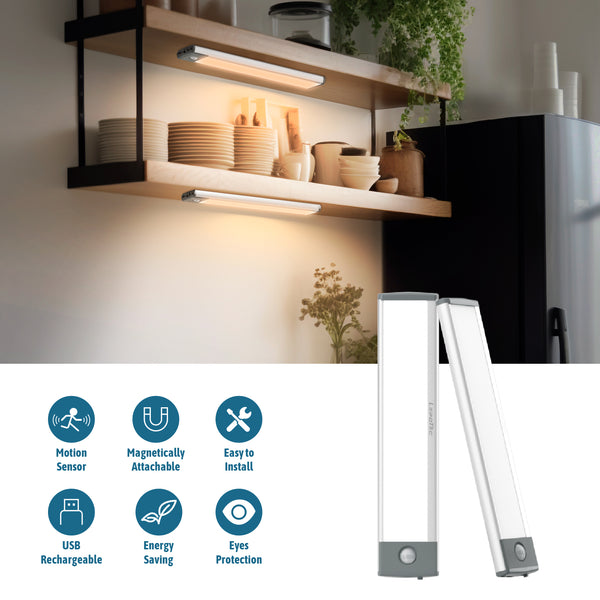
● Ambiance and Style: Accent lighting creates a stylish, elegant vibe. Illuminated cabinets seem to float above countertops, showcasing your kitchen's design aesthetic.
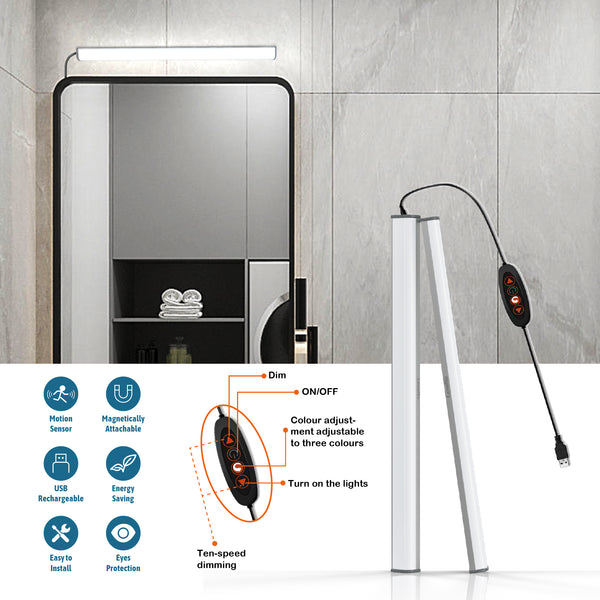
● Customized Functionality: Under cabinet fixtures allow you to adjust the color temperature and brightness as needed. Set the mood with dimmable tasks or accent lighting.
DIY Installation Made Simple
Installing under cabinet lighting is an achievable DIY project for novices. Follow these straightforward steps for a smooth installation:
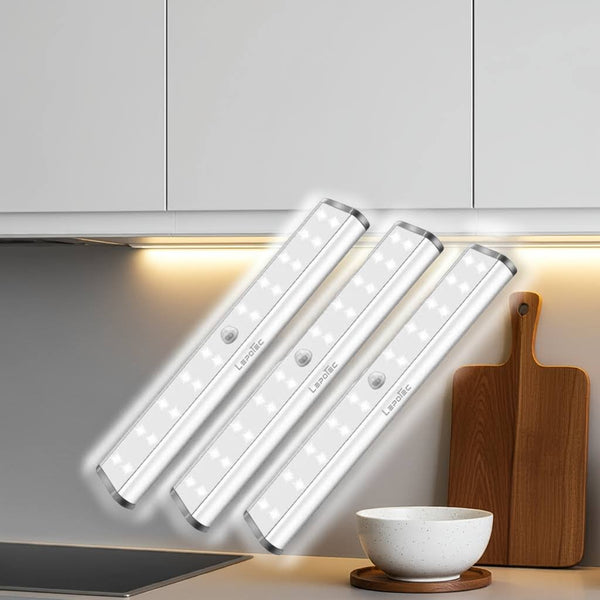
●Choose fixtures that best suit your needs and kitchen layout. Strip lighting offers full illumination whereas puck lights provide focused task lighting.
●Map out the lighting placement underneath wall cabinets and drawers. Mark the locations with a pencil.
●Before mounting the fixtures, plug them in and test them to ensure they work properly right out of the box.
●Carefully read the manufacturer's instructions for mounting, wiring, and connecting the lights.
●Drill small holes for wiring between cabinet framing to conceal cords as much as possible.
●Use the provided hardware to mount the lights. Most models come with self-adhesive backing, screws, or magnetic strips.
●Connect the lights to a nearby outlet or hardwire them to a junction box. Use the provided connectors or wire nuts.
●Replace any trim pieces and insert light bulbs, taking care not to touch LEDs with your bare hands.
With a little time and patience, you can install under cabinet lighting safely and affordably on your own. But don't hesitate to call an electrician if you have any doubts during the process.
How to Maintain Your Under Cabinet Lighting
Under cabinet lighting requires minimal maintenance, but follow these tips to keep your fixtures dust-free and functioning at peak performance:
●Use microfiber cloths to gently remove dust and debris from the lights. Avoid harsh cleaners or abrasive materials.
●Check lights regularly for burned-out bulbs and replace them immediately with the same type and wattage.
●Make sure ventilation openings on LED strips or pucks stay clear of dust, grease splatter, etc.
●For hardwired fixtures, hire an electrician if lights flicker or malfunction. Don't attempt repairs yourself.
●Monitor lights for excessive heat buildup that could melt or warp surroundings. Adjust position or wattage if necessary.
●Consider hiring a professional to steam clean accumulated grease/grime if you cook often.
With occasional check-ups and cleaning, your under cabinet lighting can provide years of bright, trouble-free illumination. Proper maintenance keeps your kitchen safe and stylishly lit.
Comparing Bulb Options
Under cabinet lights accommodate a variety of light bulb types. Consider the pros and cons of each before choosing fixtures:
| Bulb Type | Pros | Cons |
| Incandescent | Inexpensive to purchase Familiar technology Fully dimmable |
Short lifespan Inefficient Hot burning |
| CFL (Compact Fluorescent) | More energy efficient Longer lifespan | Contains mercury More expensive Some are not dimmable |
| LED (Light Emitting Diode) | Extremely energy efficient Long-lasting Cool burning Variety of color temps |
Higher initial cost Dimming capabilities vary |
| Halogen | Compact size Bright light Fully dimmable |
High operating temp Shorter lifespan than LEDs |
For the best combo of efficiency, light quality and lifespan, LEDs are the optimal choice. CFLs are also very energy efficient but contain mercury. Halogen and incandescent costs less upfront but have drawbacks like excessive heat and shorter bulb life.
How to Position for Optimal Illumination
Properly positioning under cabinet lights can make your kitchen much more functional and visually appealing. Follow these tips:
●Concentrate lighting over key work zones like countertops, islands, stoves, and sinks. Illuminate the areas where you cook, prep, and wash most often.
●To reduce shadows from your body, place light fixtures towards the front/center of the cabinets. Avoid only lighting the back.
●Line up strip lighting near the front edge facing the countertop workspaces. The closer the better for directing light downward.
●Space out puck lights evenly for uniform lighting. Aim them towards the front countertop edge.
●Keep lights clear from upper cabinets by a minimum of 1 inch. This prevents overheating and fire risks.
●Take time to plan the layout. Proper under cabinet lighting placement makes all the difference in your kitchen's appearance and practicality.
Illuminate Your Cooking Space
The right under cabinet lighting can vastly enhance any kitchen's form and function. With myriad options now available, you can choose fixtures perfect for your space and needs. Just take time to consider the style, lumens, bulb types and placement. DIY installation is totally feasible for most novices too. With strategic under cabinet lighting installed and maintained properly, you'll enjoy improved visibility, elegance and safety in your kitchen for years to come.


