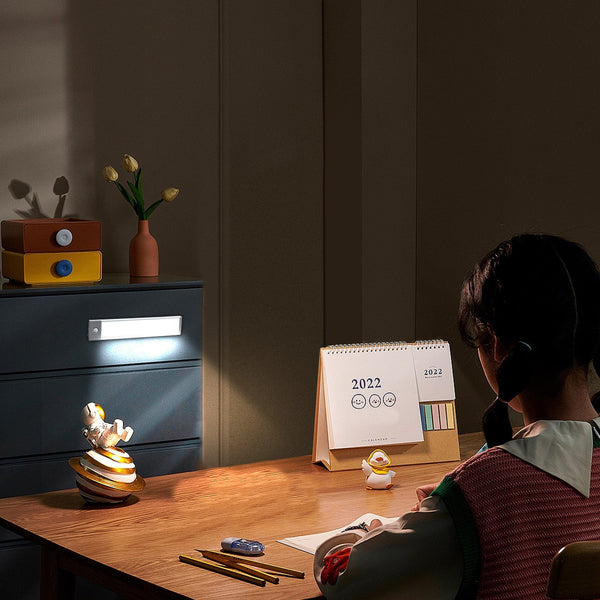
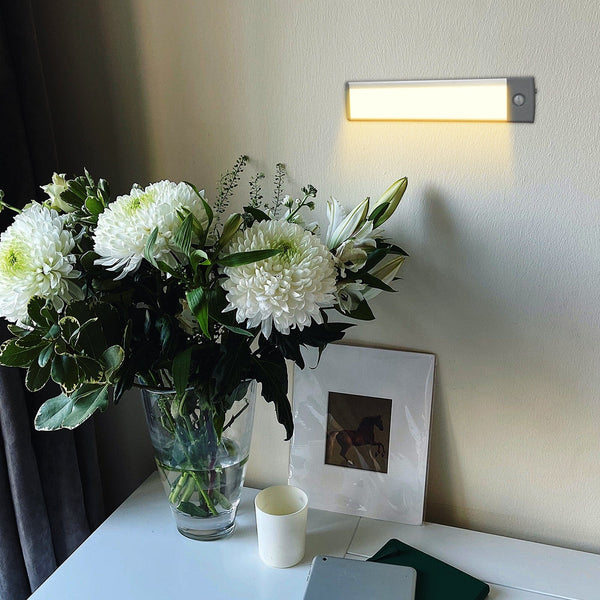
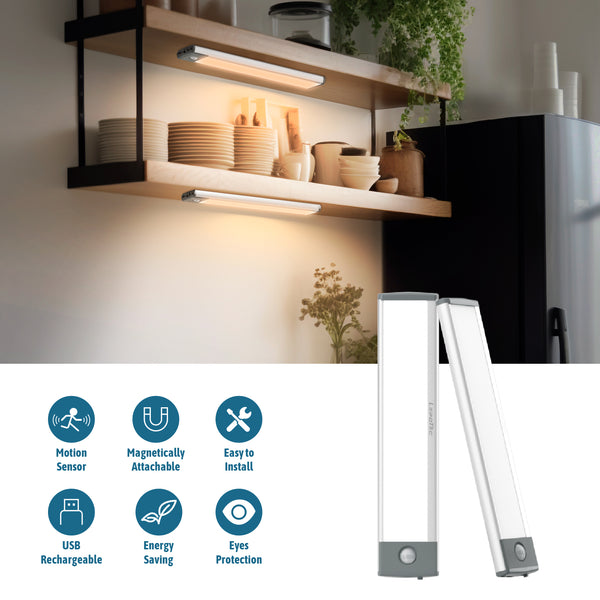
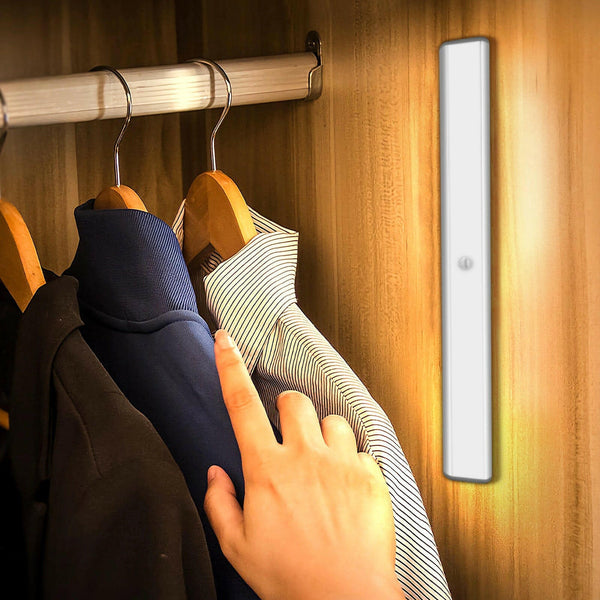
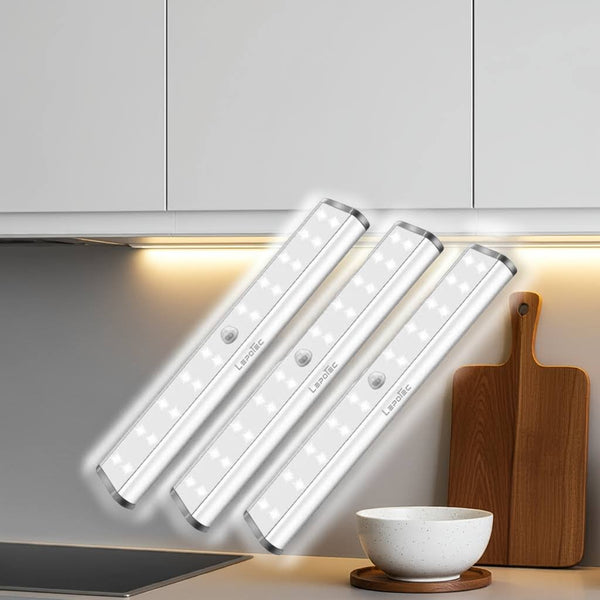
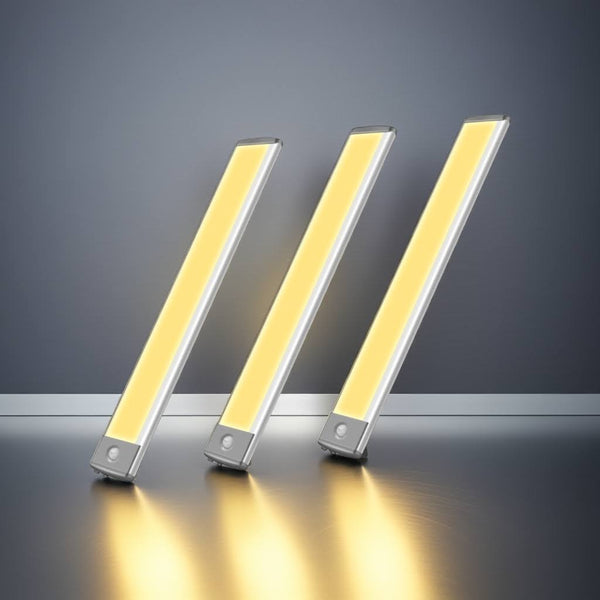
These LED under cabinet lights can be used to brighten kitchens, workstations, closets and other areas. These wireless fixtures are ideal for DIY enthusiasts and renters alike, as they do not require complex electrical work. Proper installation is essential to maximize their functionality, appearance, and durability. This detailed guide will walk you through each step of installing LED under cabinet lighting, from planning to preparation, mounting, wiring, and troubleshooting.
Table Of Contents
-
Understanding Rechargeable LED Under Cabinet Lights
-
There are many types of rechargeable LED lights
-
Key Features and Components
-
-
Pre-Installation Planning
-
How to Assess Your Space
-
The Right Lights
-
What Tools and Materials Do I Need?
-
-
Step-by-Step Installation Guide
-
Preparing the Surface
-
How to Mount the Lights
-
Connecting and organizing components
-
Testing and Adjusting
-
-
Advanced Installer Tips
-
Installing in Challenging Spaces
-
Integrating Dimmers or Motion Sensors
-
-
Maintenance & Troubleshooting
-
Battery Care and Charging
-
Common Problems and Solutions
-
-
Safety Considerations
-
Conclusion

1. Understanding Rechargeable LED Under Cabinet Lights
Rechargeable LED Lights
There are several different styles of rechargeable under cabinet lighting, each one suited for a specific need:
-
Puck lights: Small circular fixtures for task lighting.
-
Light Strips : Flexible strips with adhesive backing for continuous, seamless illumination.
-
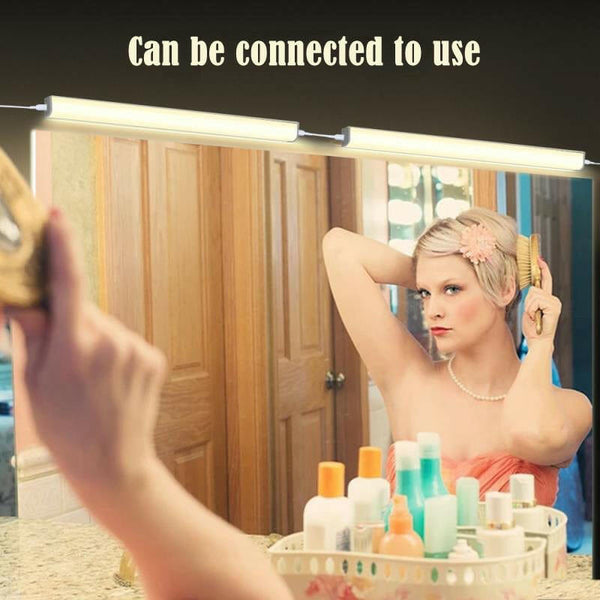
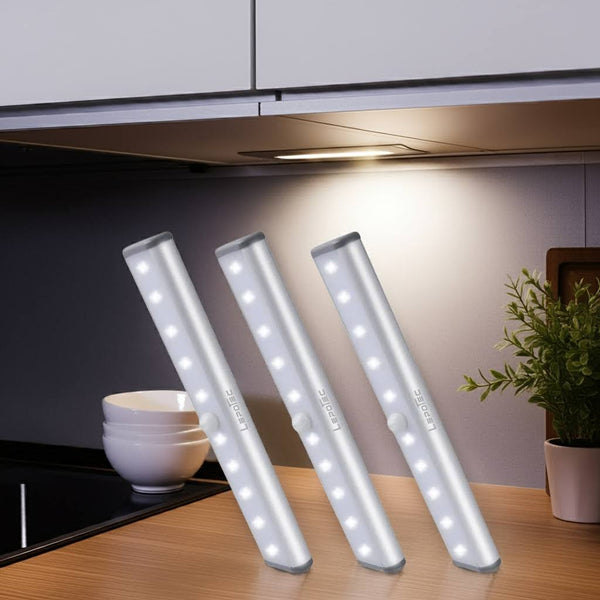
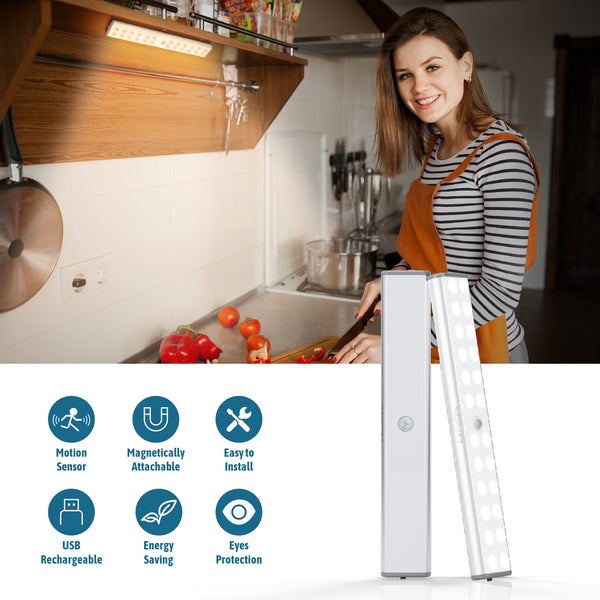
Bar lights: Slim rectangular units that offer a wider coverage.
-
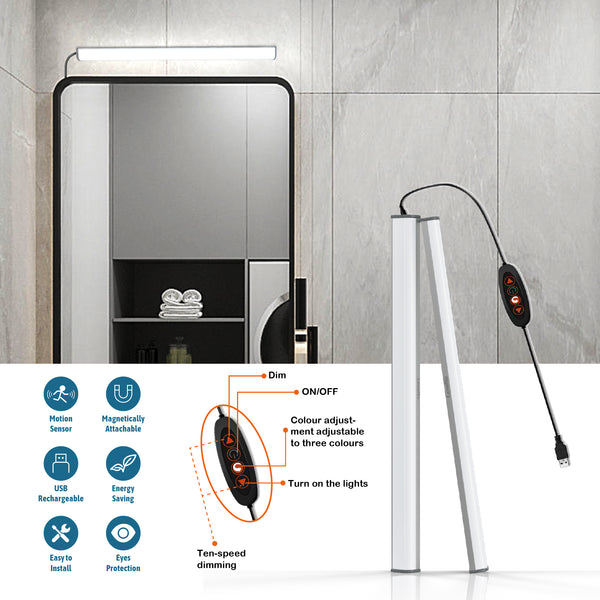
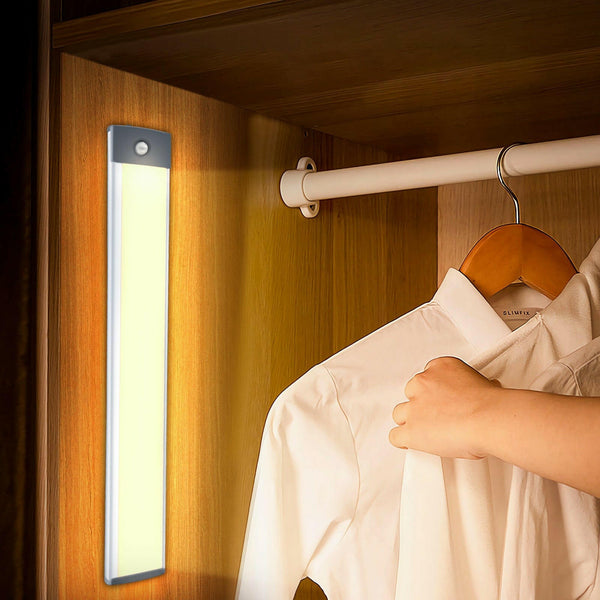
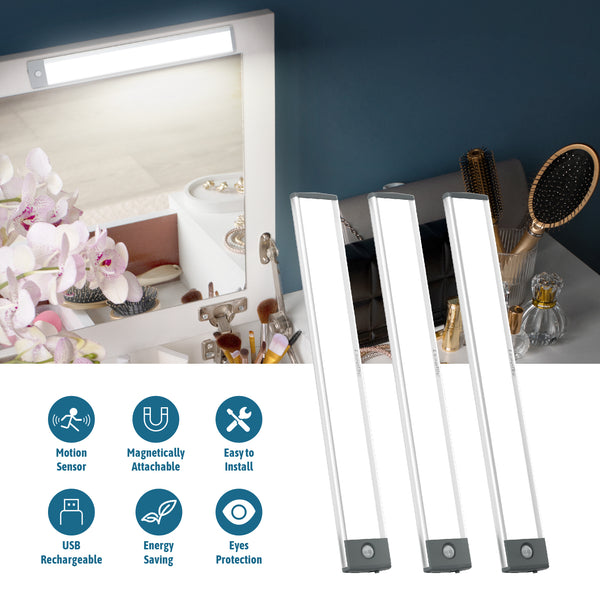
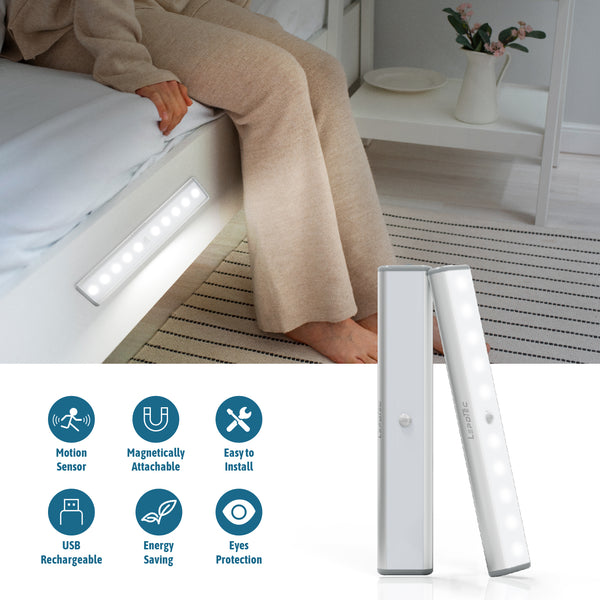
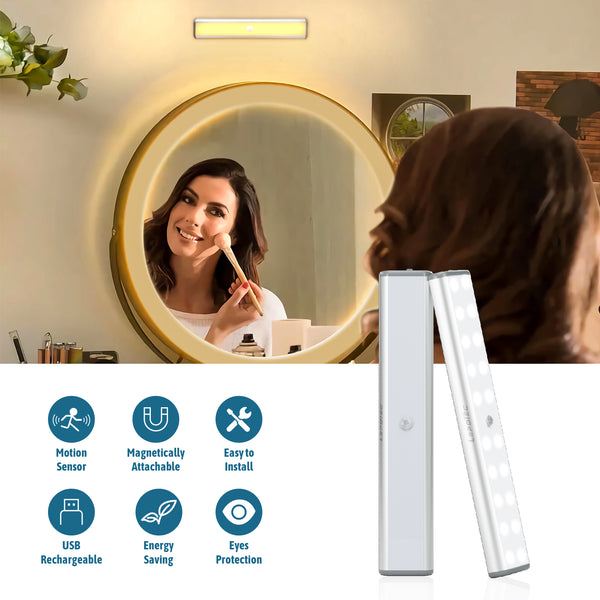
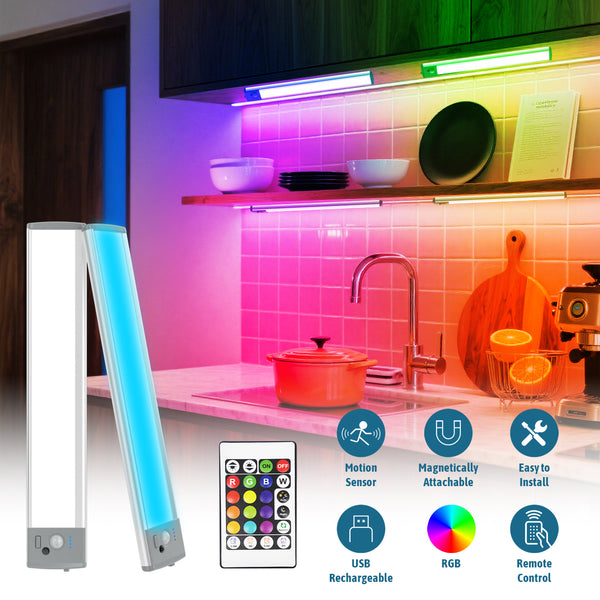
Motion Activated Lights Equipped with sensors to allow hands-free operation.
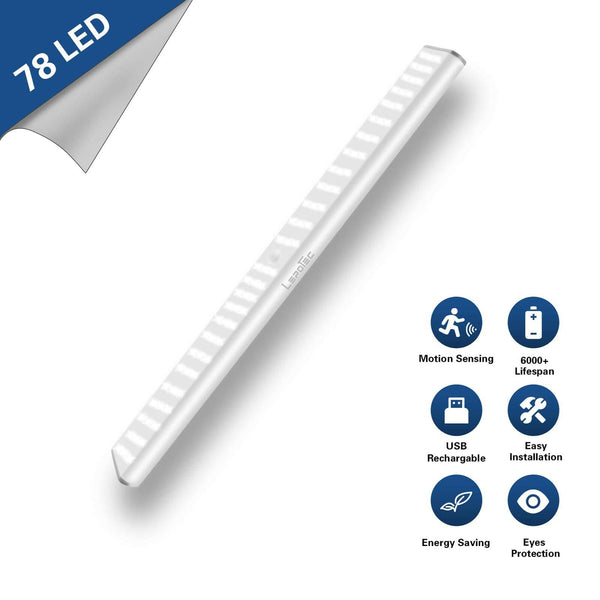
The majority of models use lithium-ion batteries or NiMH and can be recharged via USB-C or micro-USB.
Key Components
-
Modules : LEDs with energy-efficient lighting and varying color temperatures.
-
Battery pack: This battery is often integrated or removable.
-
Mounting hardware: adhesive strips, magnetic brackets or screws
-
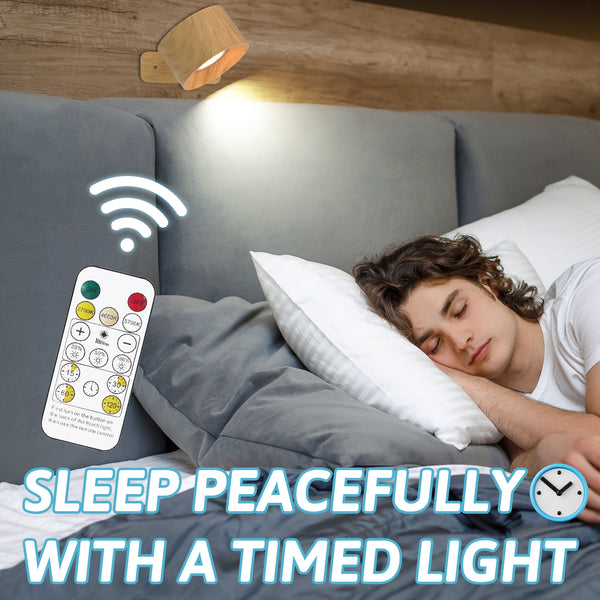
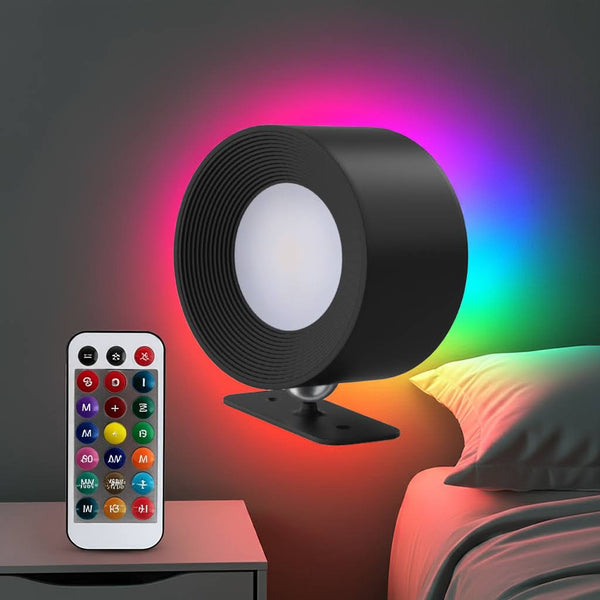
Control Options Touch switches, remote controls, or motion sensor.
2. Pre-Installation Planning
Assessing your Space
-
Measure Area Use a measuring tape to measure the depth and length of your cabinets.
-
Identify the Power Source: Make sure you have access (if necessary) to an outlet.
-
Evaluate Lighting Needs:
-
Task lighting: Bright and focused light for food preparation areas.
-
Ambient Lighting: Softer illumination for decorative purposes.
-
How to Choose the Right Lights
-
Brightness - Look at lumens instead of watts. Ideal task lighting is 100-300 Lumens per Foot.
-
Battery life: Choose models that offer 8-20 hours per charge.
-
IP Rated: Choose water-resistant lighting for kitchens and bathrooms (i.e. IP44).
Materials and Tools Required
-
Rechargeable LED Light Kit
-
Measurement tape
-
Level and pencil
-
Cleaning Supplies (propyl Alcohol, Cloth)
-
Use scissors or a utility knife to cut the light strips
-
Drill (optional for screw-mounted fixtures).
-
Cable clips or adhesive organizers for wire management
3. Step-by-Step Installation Guide
Step 1: Prepare the Surface
-
Clean Installation Area Wipe cabinets down with isopropyl ethanol to remove dust or grease. This will ensure a strong adhesive.
-
Mark the Placement Use a pencil to mark each light's locati0n. For even spacing:
-
Divide the cabinet length (in feet) by the number lights.
-
Avoid placing the light too close to cabinet edges (3-4 inches is recommended).
-

Step 2: Mounting Lights
Adhesive Back Lights
-
Peel away the adhesive liner.
-
For 30 seconds, press the light firmly on the cabinet.
-
Hold the bonding device in place for 1 to 2 minutes.
For magnetic or screw-mounted lights
-
Use screws or adhesive to attach mounting brackets onto the cabinet.
-
Snap the brackets onto the light.
Light Strips
-
Only cut the strip at the marked points.
-
Peel and stick your strip following the layout you have marked.
Step 3: Connecting components and organizing them
-
Wiring (if applicable) Some multi-light system connect via cables. Cable clips can be used to neatly secure wires under cabinets.
-
Batteries If the battery pack is separate, you can mount it in a discrete locati0n (e.g. inside a cupboard) by using adhesive.
Step 4 - Testing and Adjusting
-
Charge the light fully before using it.
-
Test the brightness, switch functionality and motion sensors by turning them on.
-
To eliminate shadows from countertops, adjust angles (for directional lighting).
4. Installing Advanced Technology
Installation in Challenging Places
-
Uneven surfaces: Use additional adhesive strips or mounting putty for grip.
-
Corners : Use corner connectors for light strips or flexible strips when bending.
Using dimmers or motion sensors
-
Motion Sensors Mount the sensor in a place where it is easy to detect movement (e.g. near the edge of the cabinet).
-
Dimmers Install a compatible dimmer switch or use a model controlled by a remote control for adjustable brightness.
5. Maintenance and Troubleshooting
Battery Care & Recharging
-
To extend battery life, recharge batteries before they are completely depleted.
-
Lights should be stored in a dry, cool place to avoid battery degradation.
Common Issues
-
Lights won't turn on
-
Charge your batteries.
-
Make sure the power switch has been activated.
-
-
Weak Adhesion
-
Reapply heavy-duty mounting adhesive after cleaning the surface.
-
-
Flickering lights
-
Check for loose connections or replace the battery.
-
6. Safety Considerations
-
Avoid placing lights near flames or heat sources.
-
Do not block the ventilation of battery compartments.
-
When charging multiple devices, use a surge protector.
7. The conclusion of the article is:
Installing LED rechargeable under cabinet lights requires little expertise or tools. This guide will help you achieve a professional look that will enhance your home's functionality and ambience. These lights are not only energy-efficient and cost-effective, but they also provide unparalleled flexibility to homeowners and renters. Your rechargeable LED light will last for many years with the right planning, installation and maintenance.
This project can be used to upgrade a closet, workshop or kitchen. It's a great way to make a modest investment that will have a huge impact. Grab your tools and charge your batteries to transform your space into a modern, crisp glow with LED lighting.
Keywords : LED lighting installation guide, under cabinet LED lighting, wireless cabinet lighting.