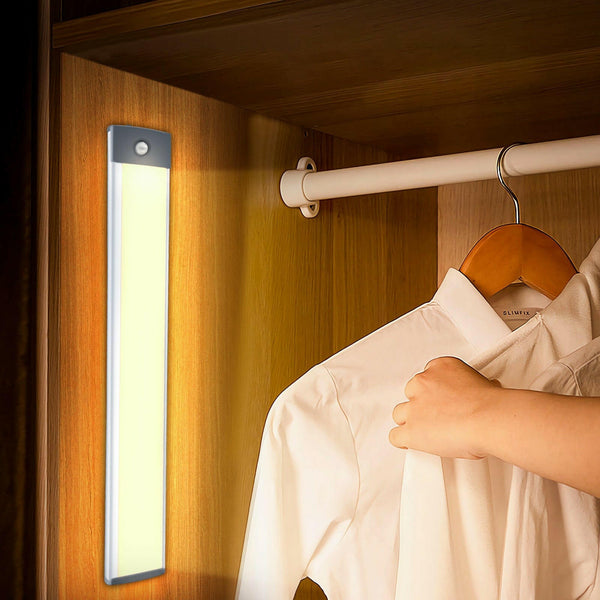
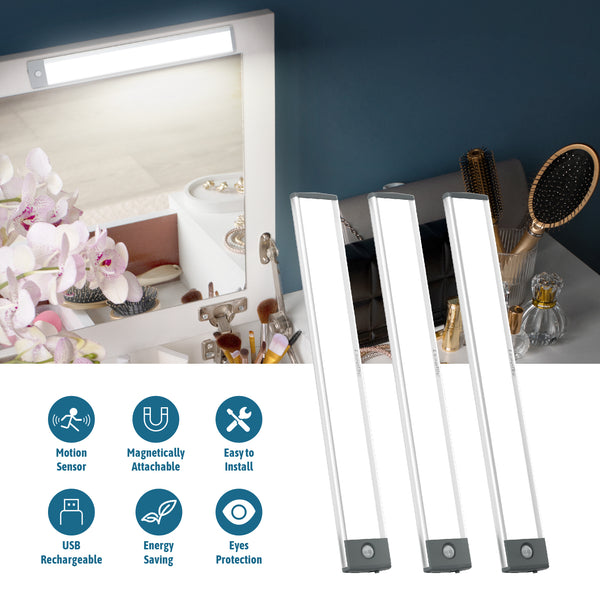
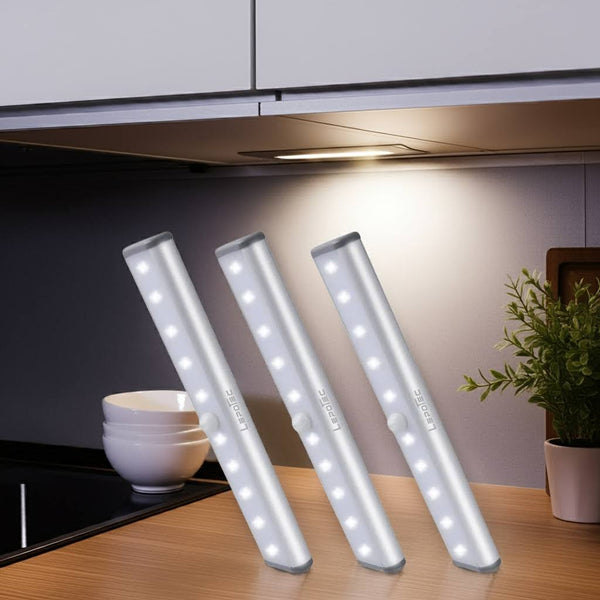
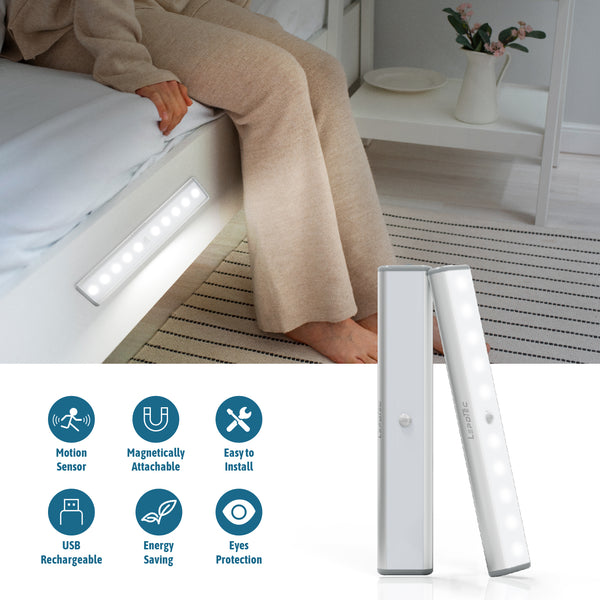
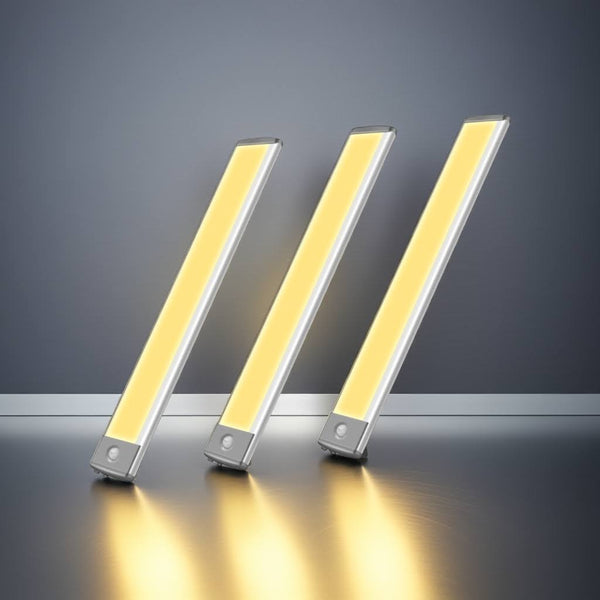
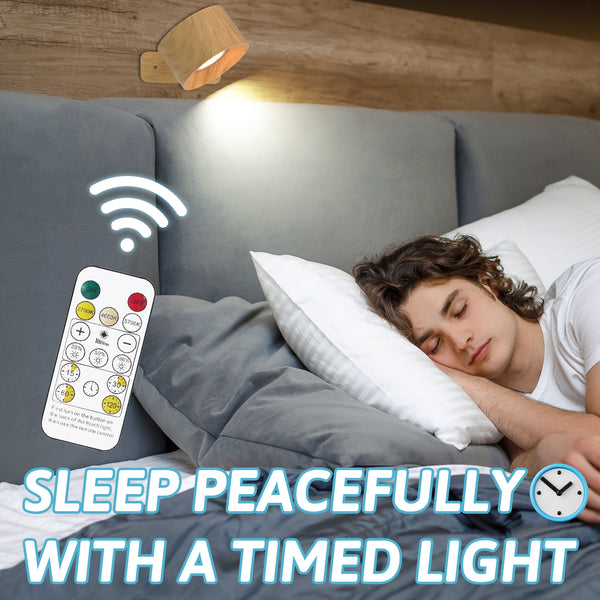
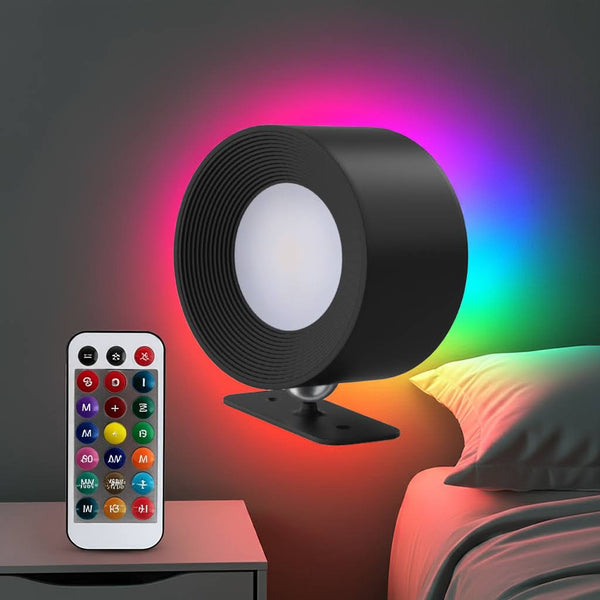
Discover how to effortlessly enhance your home's ambiance with battery-operated wall sconces. This guide offers simple installation tips and ideas for incorporating these versatile lighting fixtures into any space.
Choosing the Right Battery-Operated Wall Sconce for Your Space
When selecting a battery-operated wall sconce, consider the overall style and function of the room. Think about the lighting needs—whether you need ambient light, task lighting, or accent lighting. Battery-operated sconces come in various designs, from sleek modern styles to vintage-inspired fixtures, so choose one that complements your existing decor.
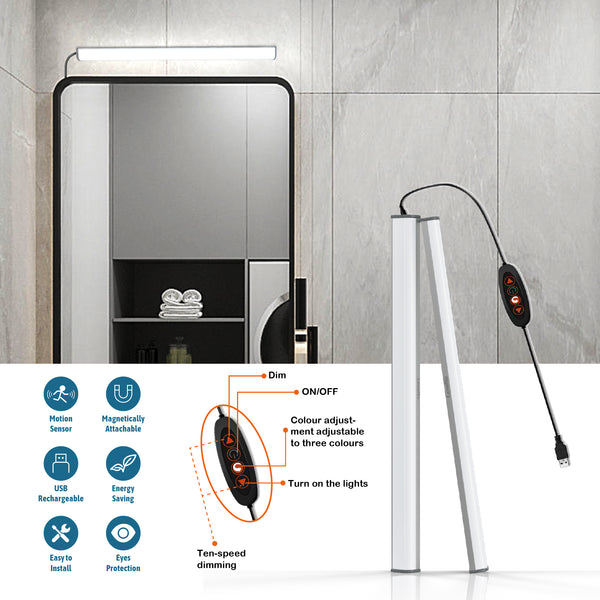
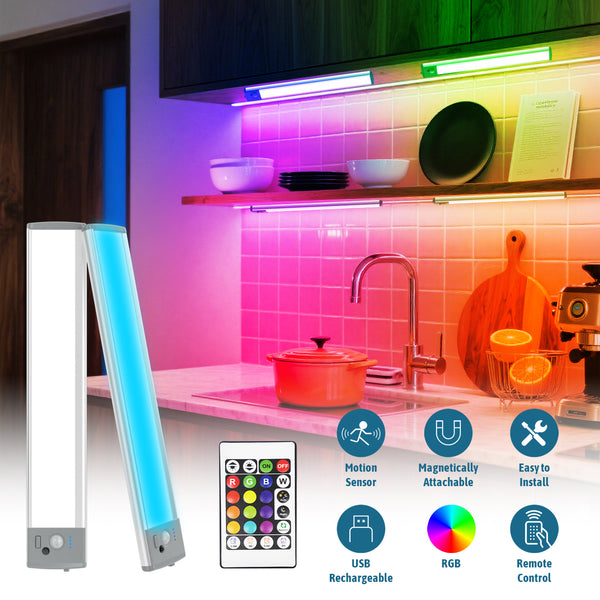
Additionally, pay attention to the color temperature options available. Many models offer three color settings: warm white, cool white, and daylight. Each color temperature serves different purposes, so choose a sconce that provides the flexibility you need.
Tools and Materials Needed for Installation
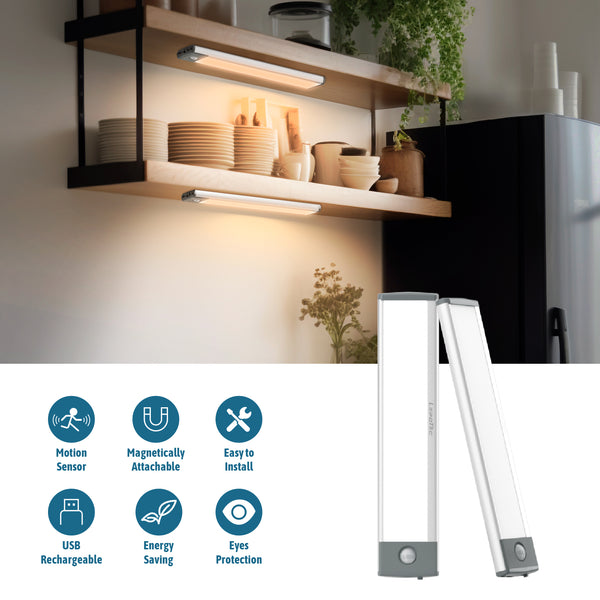
Before you begin installing your battery-operated wall sconces, gather the necessary tools and materials. Typically, you will need a measuring tape, a pencil for marking, a level to ensure straight placement, and a screwdriver. Some sconces come with adhesive backing for an easy installation, while others may require mounting hardware such as screws and anchors.
Make sure you have fresh batteries for the sconces, as well as any remote control or additional accessories that may come with the product. Having these items ready will make the installation process smoother and more efficient.
Step-by-Step Guide to Installing Your Wall Sconce
1. Choose the desired location for your wall sconce and use a measuring tape to mark the exact spot where it will be mounted. Ensure the placement is at an appropriate height for the intended purpose.
2. Use a level to make sure your markings are straight. This will help you avoid uneven or crooked installation.
3. If your sconce comes with adhesive backing, simply peel off the protective layer and press the sconce firmly against the wall. Hold it in place for a few seconds to ensure secure adhesion.
4. For sconces that require mounting hardware, use a screwdriver to attach the provided screws and anchors to the wall. Once secure, mount the sconce onto the hardware per the manufacturer's instructions.
5. Insert the batteries into the sconce and test the light to ensure it functions properly. Adjust the color settings and brightness as needed.
Tips for Optimizing Sconce Placement in Various Rooms
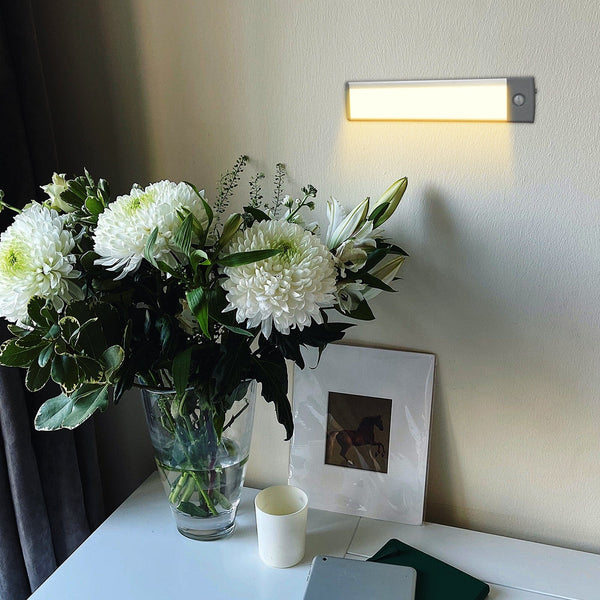
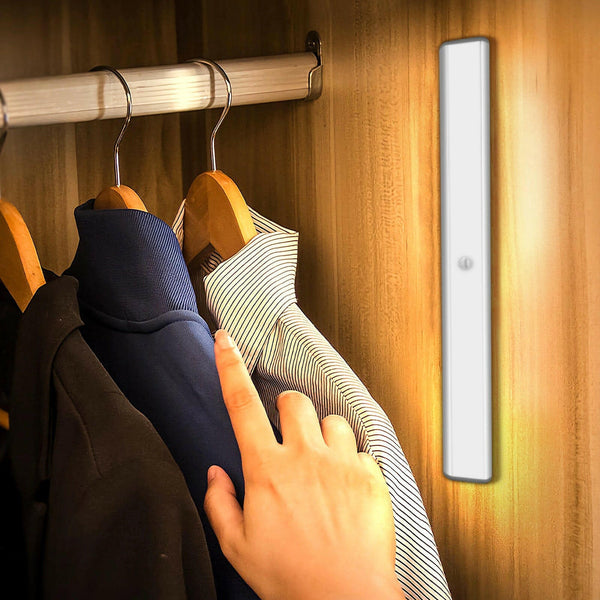
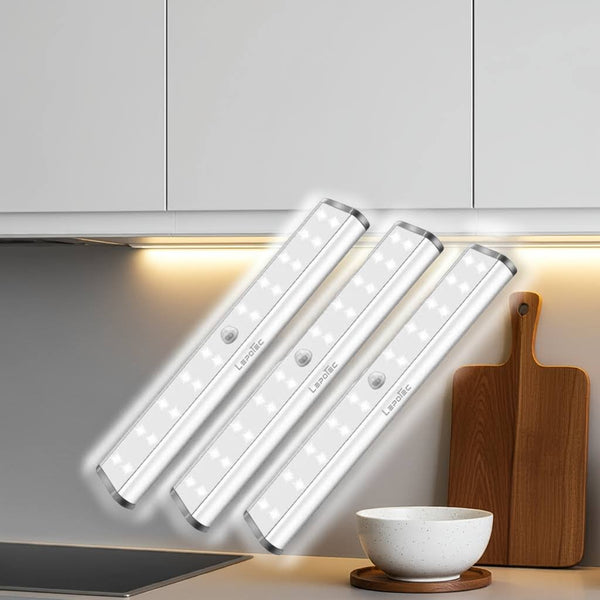
In the living room, place sconces on either side of a fireplace or above a sofa to create a cozy and inviting atmosphere. For bedrooms, install sconces near the bed for convenient reading lights without the need for bedside tables.
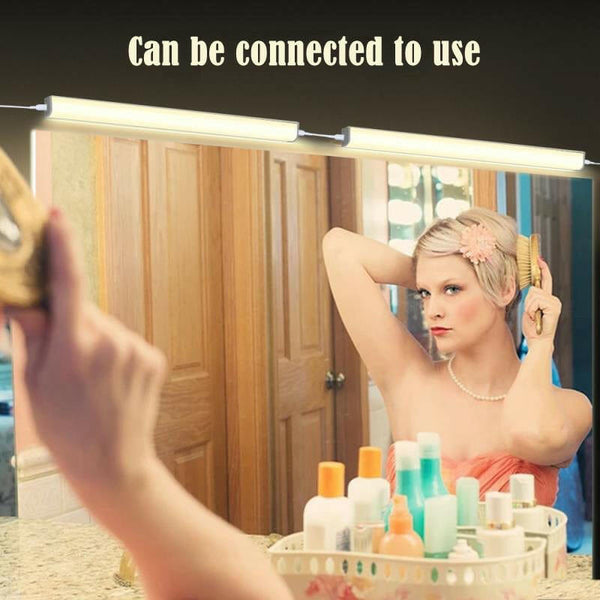
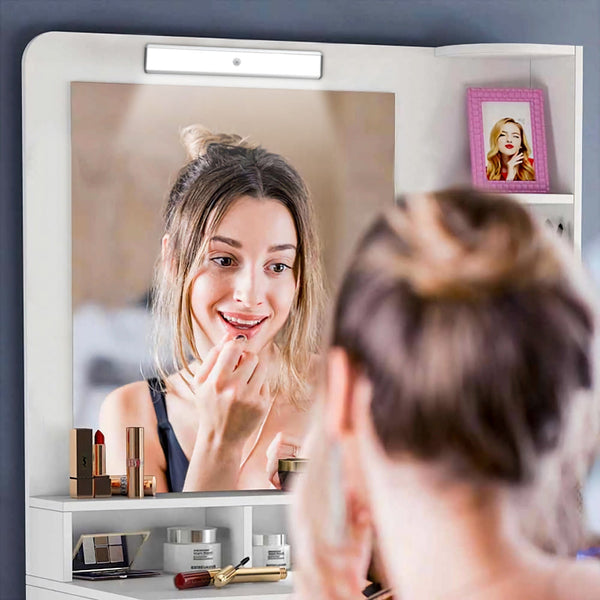
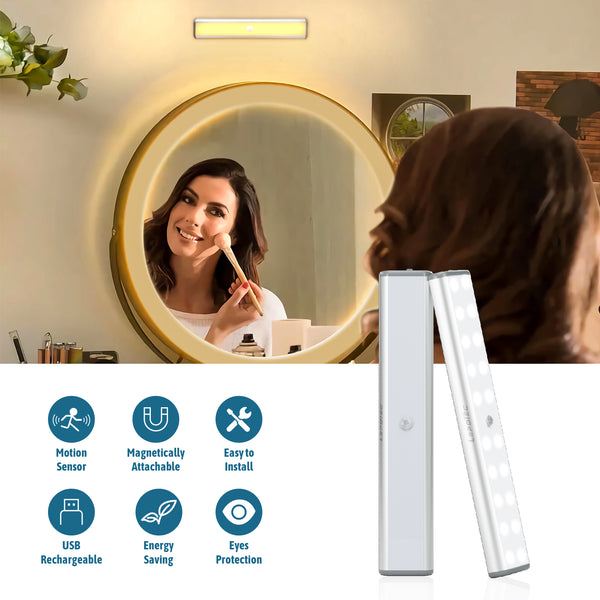
In hallways or entryways, use sconces to illuminate artwork or architectural features, adding both light and visual interest. Bathrooms can benefit from sconces placed near mirrors to provide even, shadow-free lighting for grooming tasks.
Always consider the function and mood you want to achieve in each room. The ability to switch between different color temperatures allows you to customize the lighting to suit various activities and times of day.
Maintaining and Troubleshooting Your Battery-Operated Wall Sconces
Regularly check the battery levels and replace them as needed to ensure consistent performance. Most LED lights have a long lifespan, but if you notice any flickering or dimming, it may be time to change the batteries.
If your sconce stops working, first check to ensure the batteries are properly installed. If the issue persists, refer to the manufacturer's troubleshooting guide. In some cases, resetting the sconce or replacing the remote control batteries may resolve the problem.
Keep the sconces clean by dusting them regularly with a soft cloth. This will help maintain their brightness and ensure they continue to look stylish in your home.


